
Fighting animations for cinematic scenes with AI MoCap
Introduction
Hello, 3D artists and animation enthusiasts! Today, we dive into an exciting tutorial showcasing how to use Plask Motion in tandem with Unreal Engine to create a 3D animation of a fight scene. This process, streamlined and efficient, allows you to produce a professional-grade animation in under an hour, including advanced techniques like camera work, lighting, and rendering using Unreal Engine 5's free assets.
Getting Started with Plask Motion
For this project, we've chosen a capoeira animation previously extracted using Plask. We've also sourced two character models, Alex and Michelle, from Mixamo.
1. Importing and Adjusting Models:
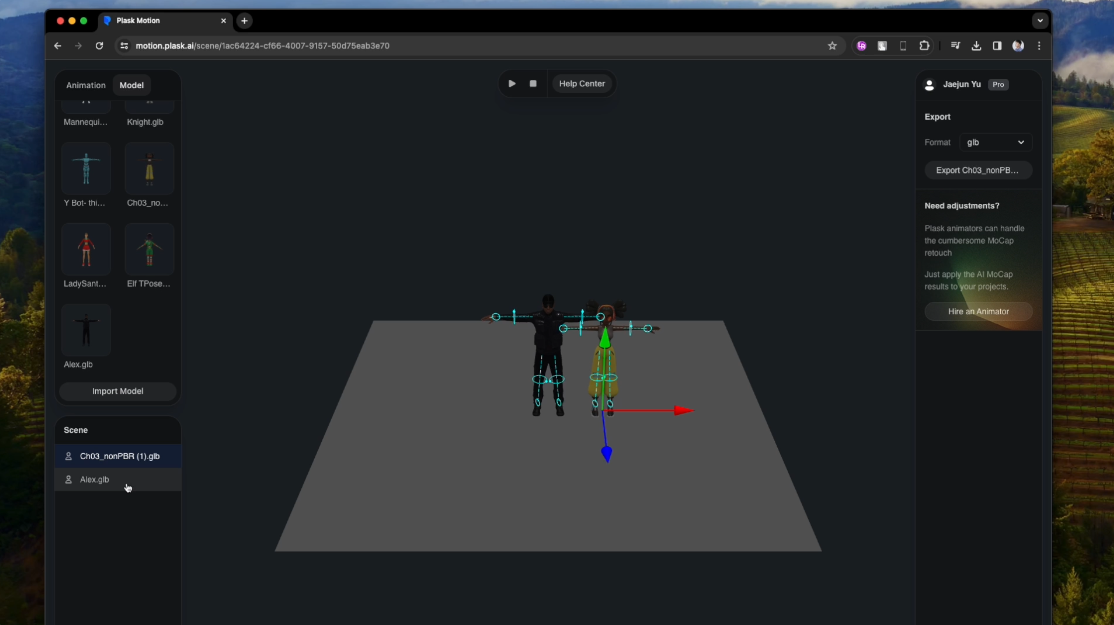
Import the Alex and Michelle models into Plask Motion. Adjust their positions in the scene for optimal interaction.
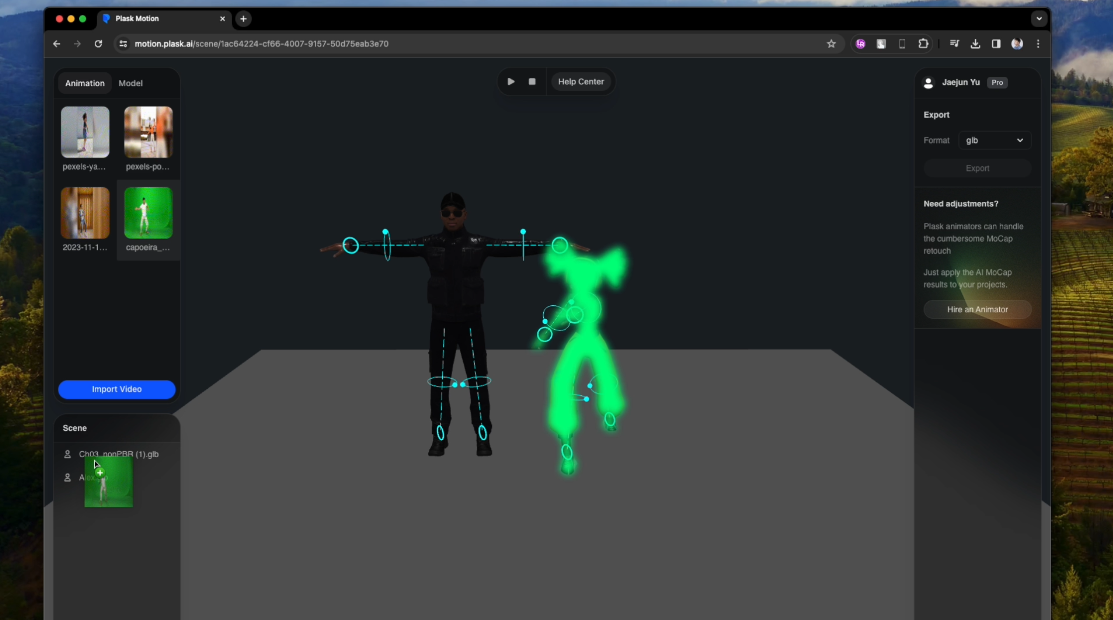
Apply the desired fighting animation to both models.
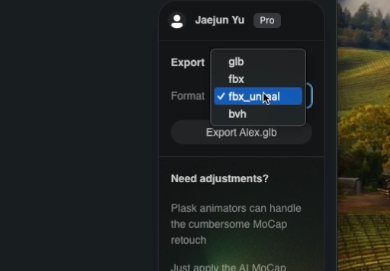
Export the models in FBX Unreal format, compatible with Unreal Engine, Game engine, iClone, and other tools. Transitioning to Unreal Engine
With our characters ready, we move to Unreal Engine.
2. Setting Up the Unreal Project:
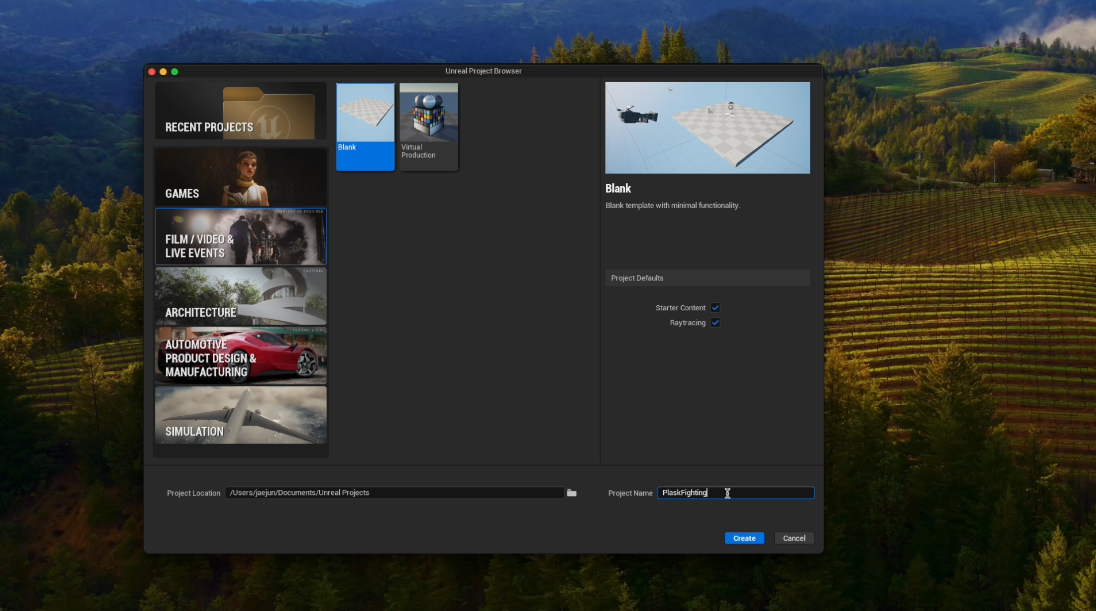
Create a new empty project of the Film type in Unreal Engine, ensuring Ray tracing is enabled.
Name your project for easy identification.
3. Importing Assets:
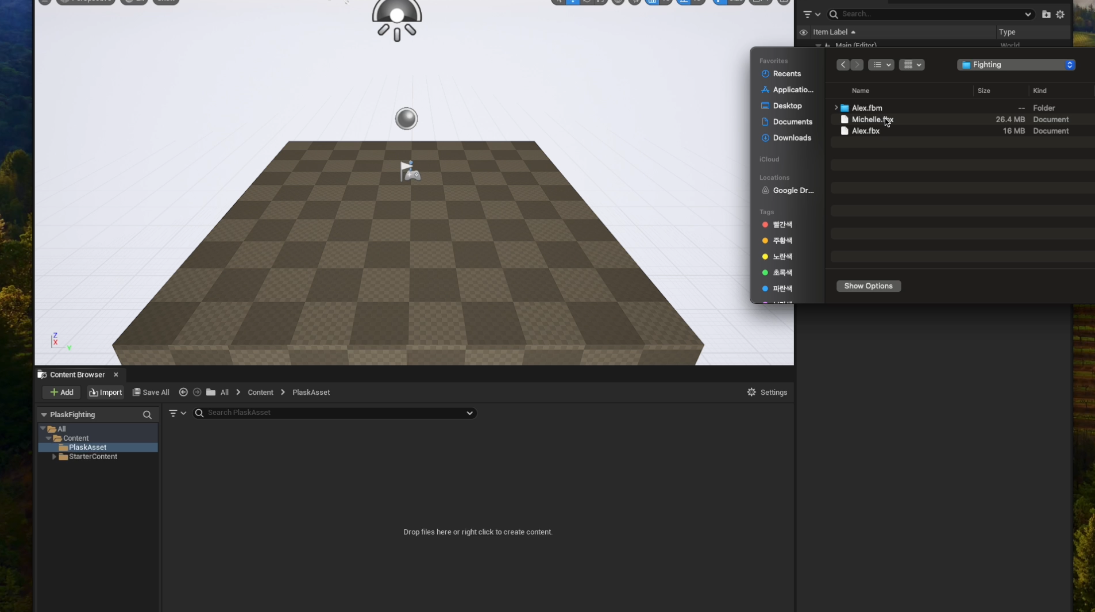
In Unreal Engine, create a directory named 'PlaskAsset'.
Import the two models exported from Plask Motion.
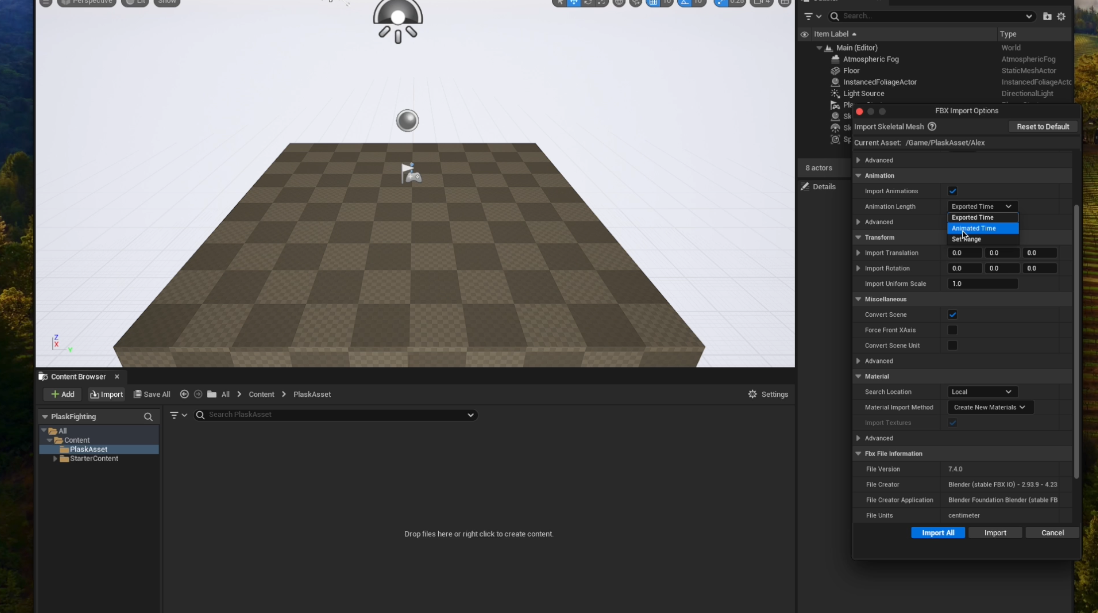
Pay special attention to import conditions, especially enabling the Animation import option.
4. Visualizing and Animating:
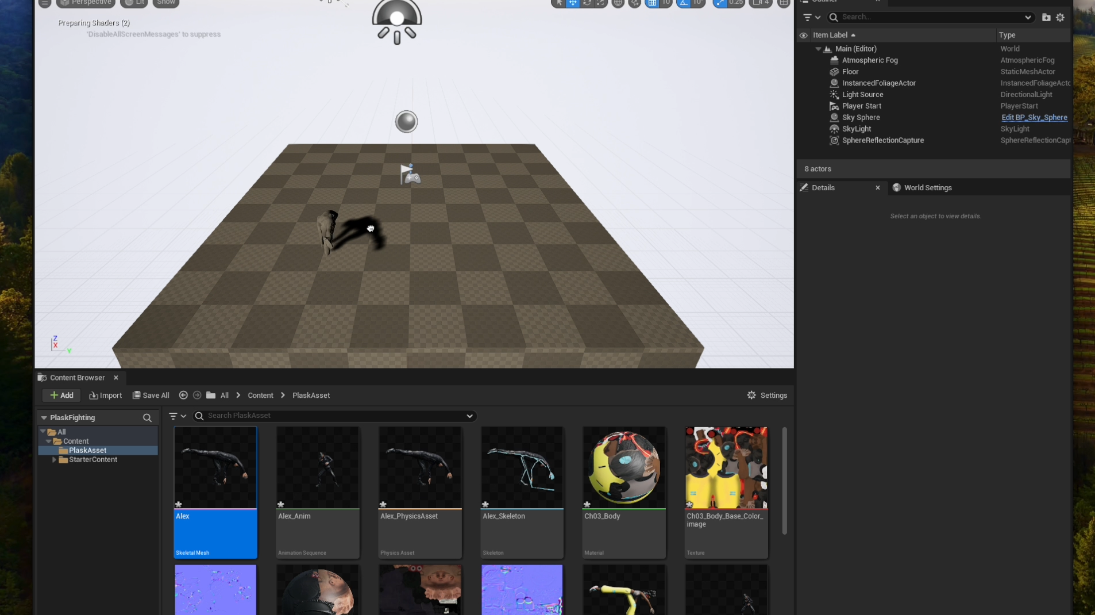
Once imported, check the Skeletal mesh of the models in the Scene.
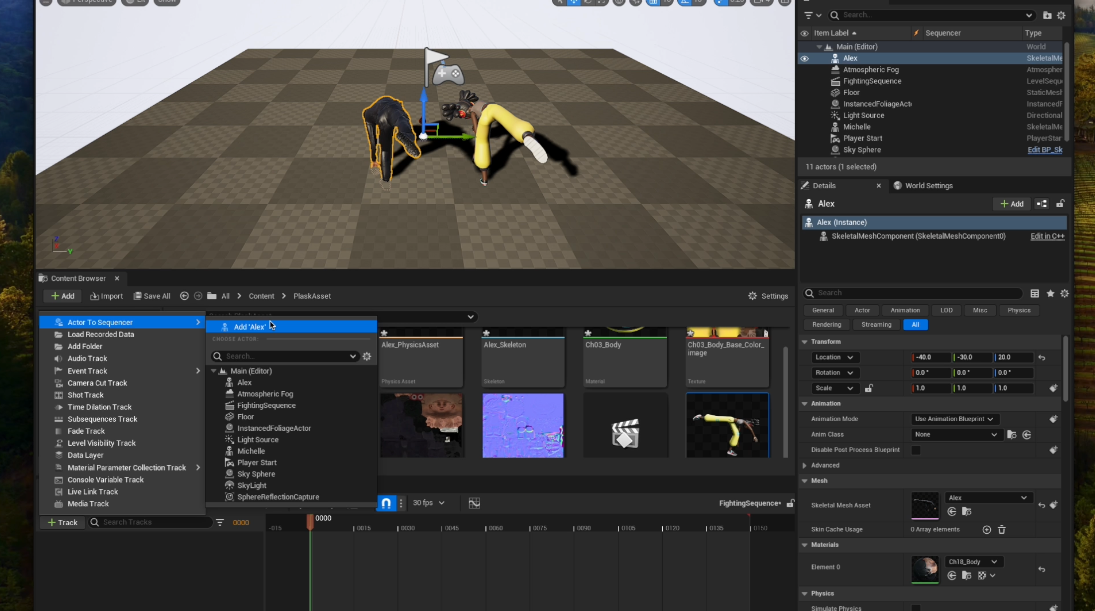
Add a Sequence for each model’s animation on the track.
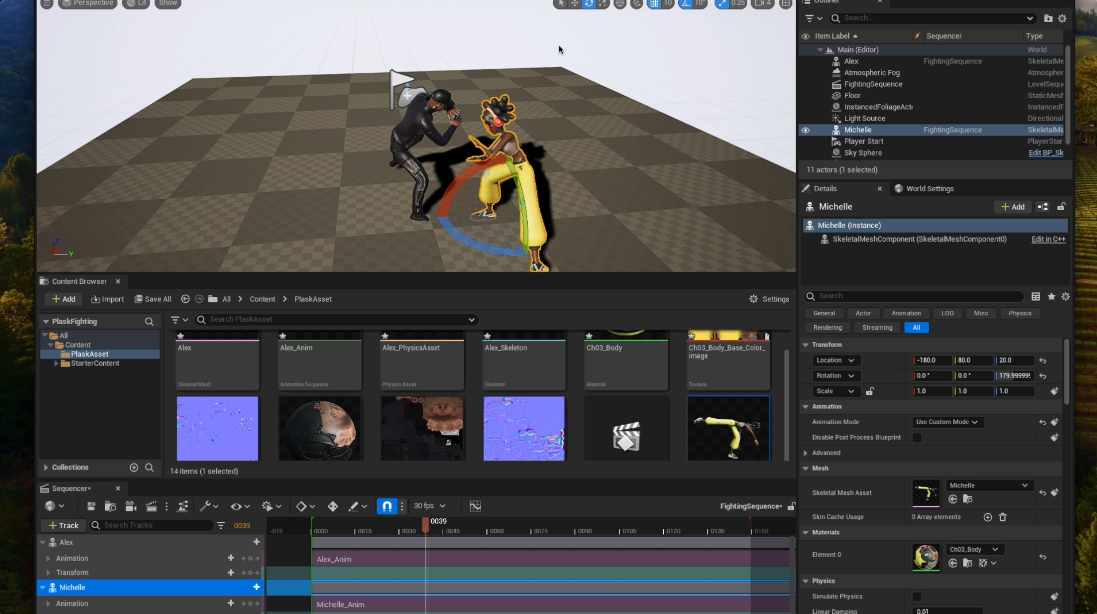
Adjust the models' position and orientation to face each other as if fighting.
Adding Camera and Effects
The next step involves setting up the camera and adding effects to bring our scene to life.
5. Camera Setup:
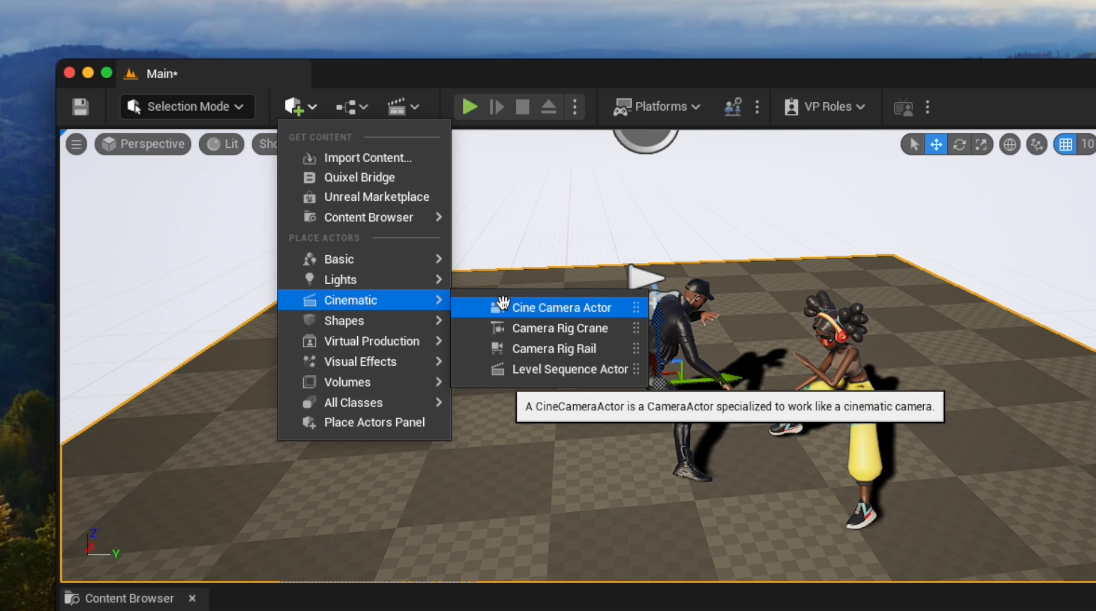
Add a Camera Actor from the Cinematic menu.
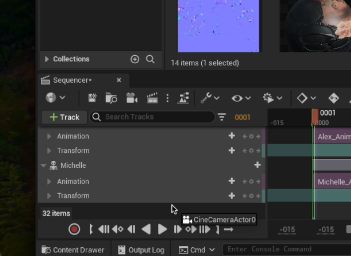 Drag and drop the camera into the sequence for camera animation.
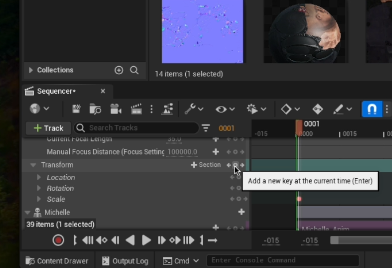
Animate the camera using parameters like Focal length, Aperture, position, and angle.
Add keyframes for smooth interpolation of camera movements.
6. Creating a Realistic Feel:
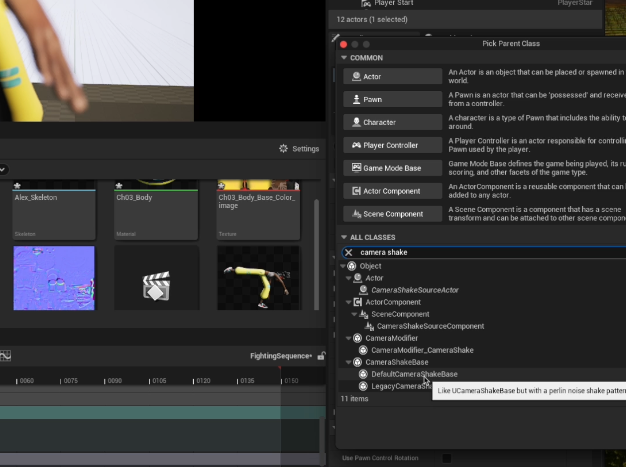
Introduce a Camera Shake effect by adding a new Blueprint.
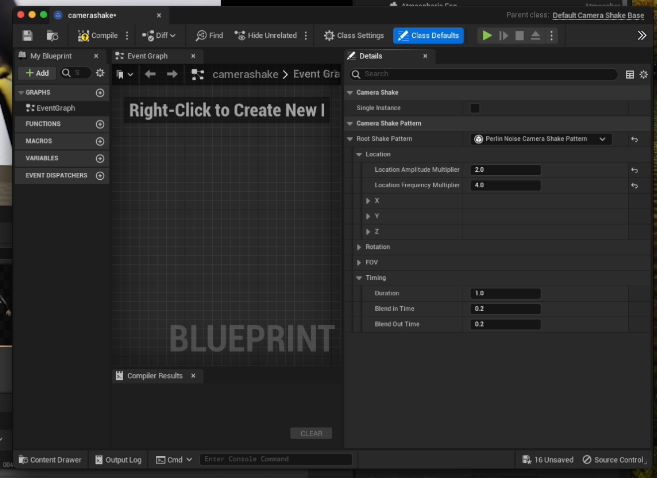
Set the amplitude, frequency, and duration of the camera shake for a more dynamic scene.
Finalizing the Scene
To complete our setup, we focus on the background and lighting.
7. Setting the Scene:
Use the "Modular Military Operation Urban Training Environment" background from the Unreal Marketplace.
Adjust the DirectionLight angle, Sky Light intensity, and Postprocessing for optimal lighting and atmosphere.
Rendering the Animation
Finally, it's time to render our animation.
8. Rendering Process:
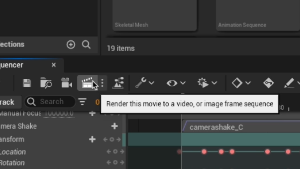 Open the Movie Render Queue modal in Unreal Engine.
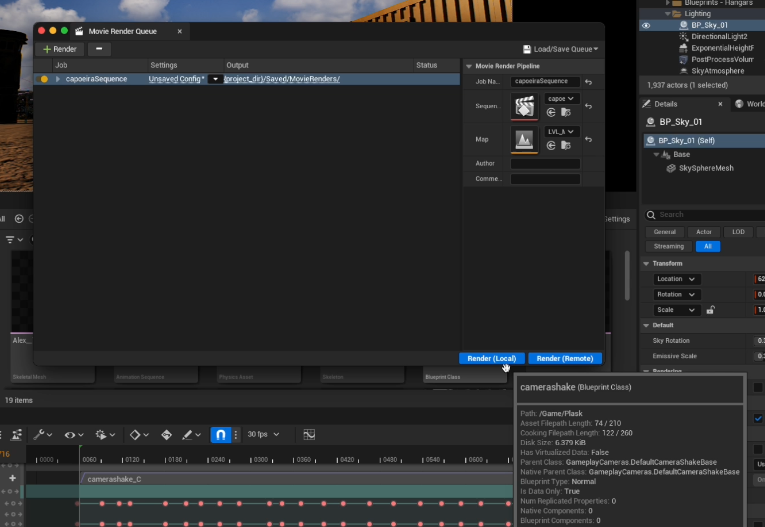
Hit the Render button and check your directory.
Conclusion
And there you have it! You've just learned how to quickly create a 3D fight animation using Plask Motion and Unreal Engine. These tools, when used together, open up a world of possibilities for creating professional-grade animations with ease and efficiency.
Join us next time for more insights and tutorials in the realm of 3D animation and creation. Until then, keep exploring, creating, and animating! 🌟